
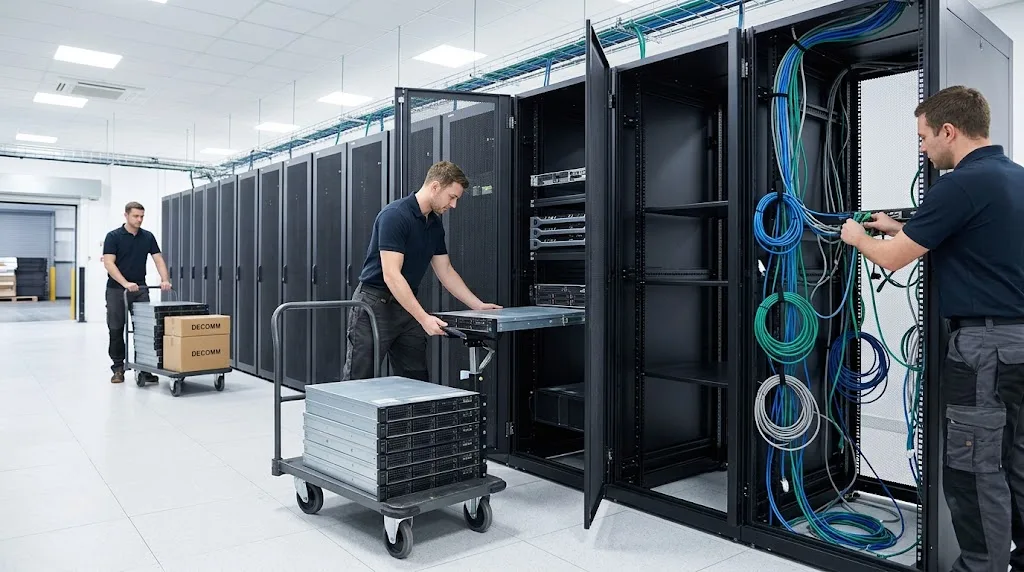
Closing a data hall, exiting a colocation cage or finishing a cloud migration all end the same way: a room full of hardware that has to leave the building with zero data risk. A decommission done in a rush is where drives go missing and audit findings start. This checklist covers the steps that keep the project on schedule and the documentation clean.
1. Set the deadline that actually matters
Work back from the lease exit, the contract end date or the cutover window. Build in buffer for change freezes, holiday periods and building access rules.
2. Build a complete asset inventory
List every rack, server, storage array, switch and loose drive by serial number. Reconcile it against your CMDB. Most problems later come from assets that were never on the list.
3. Classify data-bearing devices
Flag everything that has stored data: HDDs, SSDs, NVMe, flash modules, tape, and controllers with cache. These need a destruction method, not just recycling.
4. Choose the destruction method per media type
Hard drives can be degaussed and shredded. SSDs and flash must be physically shredded to a small particle size. Align the method with your data security policy and NIST 800-88 guidance. See our hard drive and SSD destruction service for options.
5. Decide on-site or off-site destruction
If policy says media cannot leave the building, plan for on-site shredding. Otherwise, locked containers and a documented chain of custody to a destruction facility are usually enough.
6. Plan the physical work
De-installation, de-racking, cable and tray removal, packing and palletizing. Confirm loading dock times, elevator access, floor protection and any security escort requirements.
7. Lock down chain of custody
Scan serial numbers at pickup and again at destruction. Every handoff should be logged, so each serial ties to a date, a location and a method.
8. Route everything else to certified recycling
Once media is destroyed, metal, boards, cabling and power equipment should go to certified downstream recyclers so nothing ends up in landfill.
9. Collect the documentation
You want a Certificate of Destruction, serialized reports, chain of custody records and a Certificate of Recycling. Store them with the project file for audits. Here is what a proper certificate should include.
10. Close out the space
Walk the space with facilities, confirm nothing was left behind and hand back the cage or hall in the condition your lease requires.
One contact for the whole project
Our data center decommissioning service covers de-installation, logistics, destruction and recycling with one point of contact and full documentation at the end.
Planning a decommission or drive destruction project? Get a fast quote or call/text (551) 305-3090. Most quotes go out the same day.